Photography by: 
Ahna Hubnik

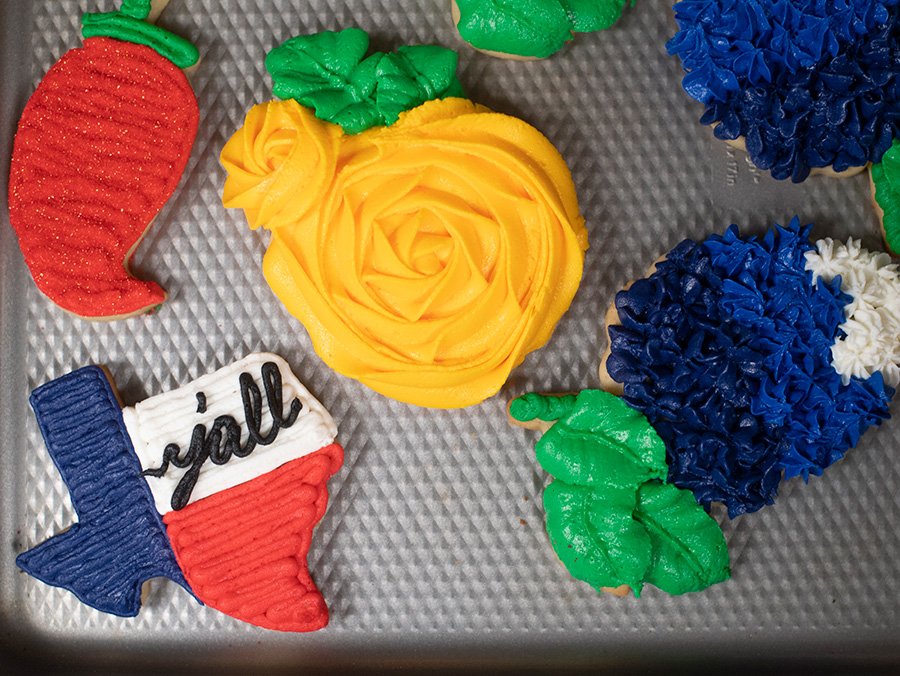
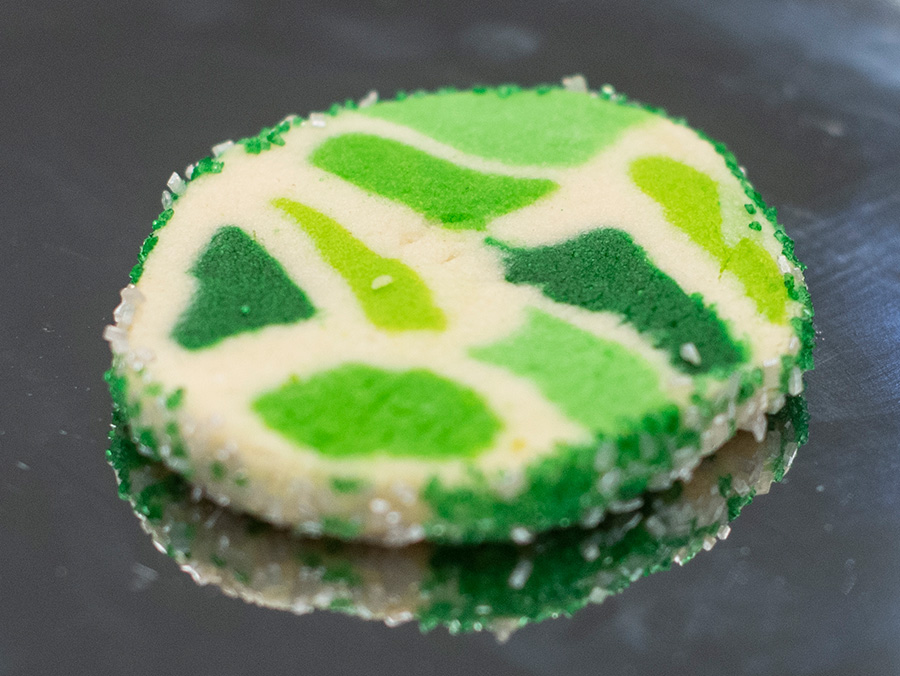
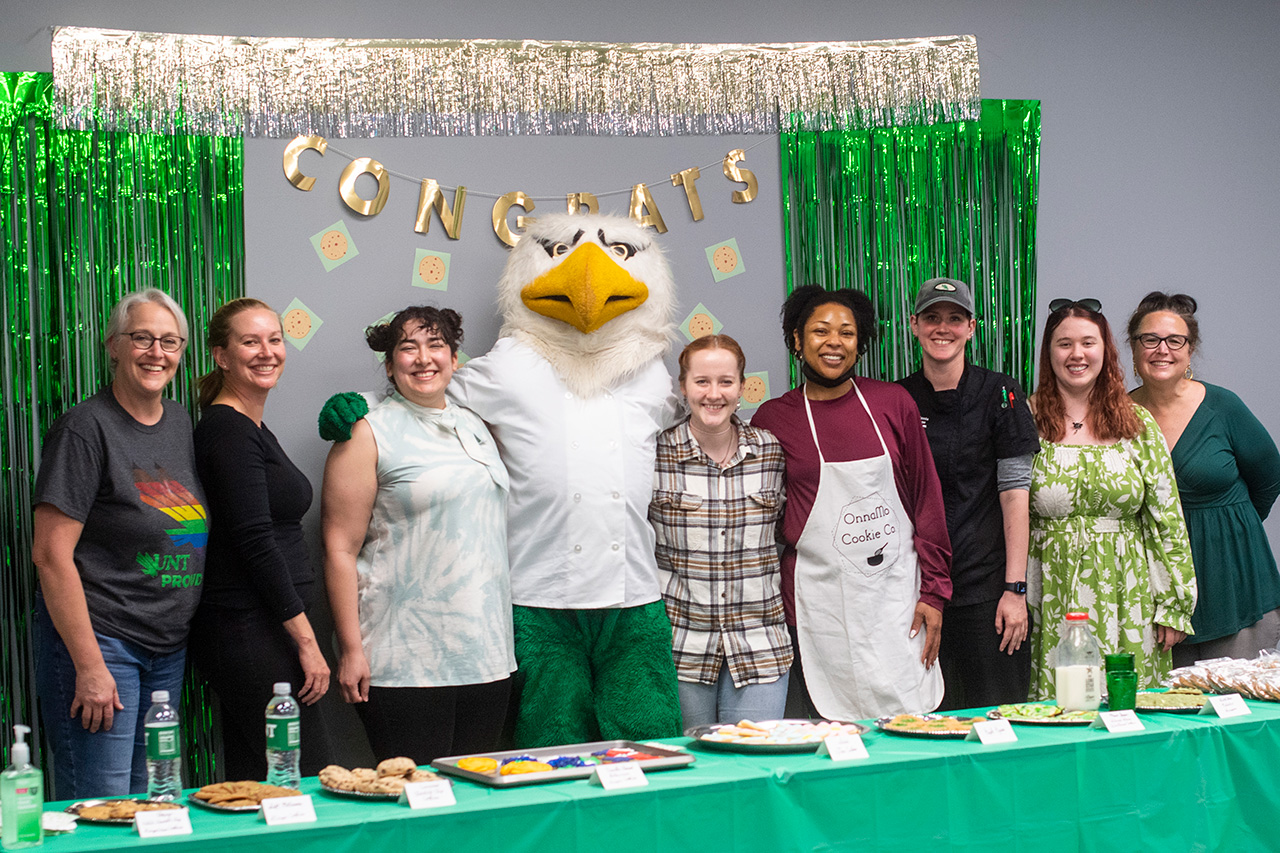
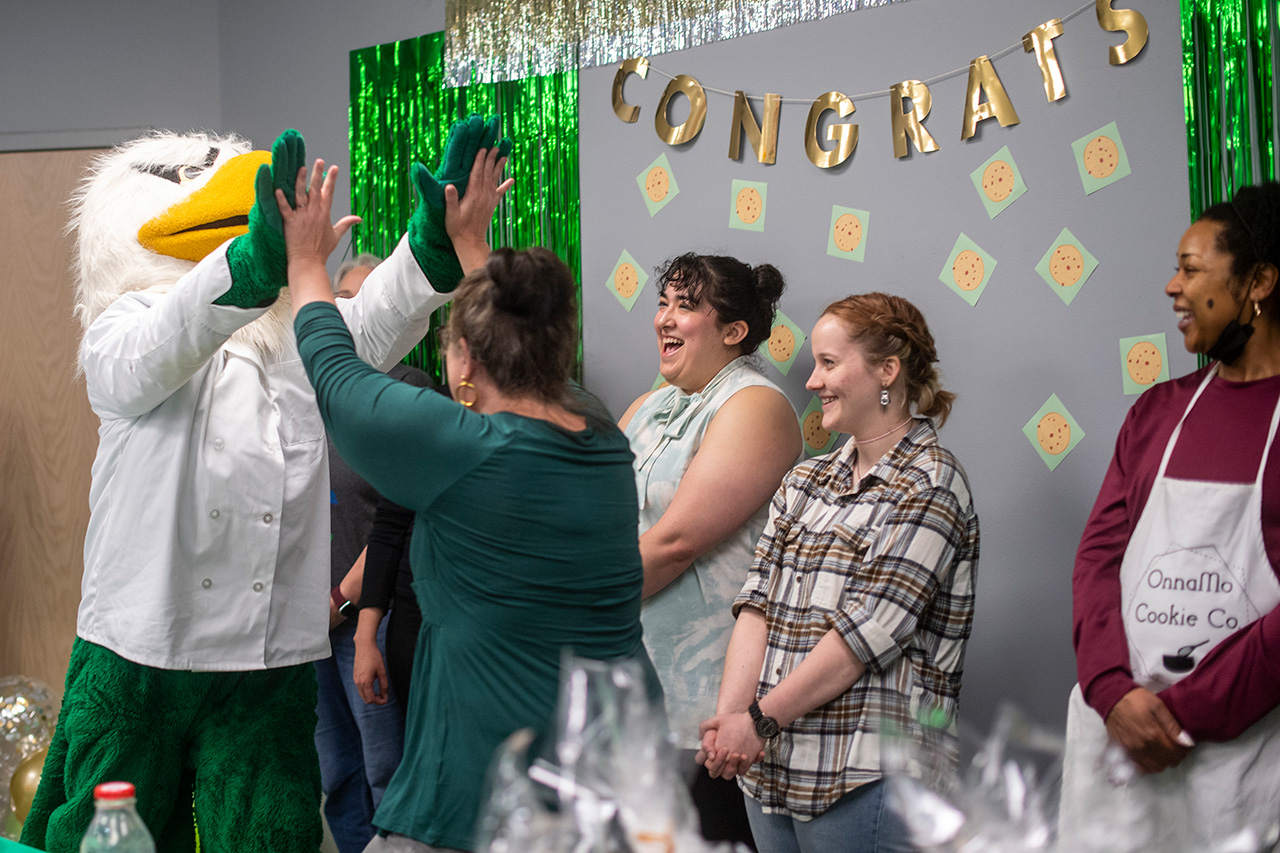
Students, faculty, staff and alumni showed off their culinary talents and creativity in the university's first-ever Best of the Nest Cookie Fest.

The contest was a partnership between the UNT College of Merchandising, Hospitality and Tourism; UNT Dining Services; and the Division of University Brand Strategy and Communications.

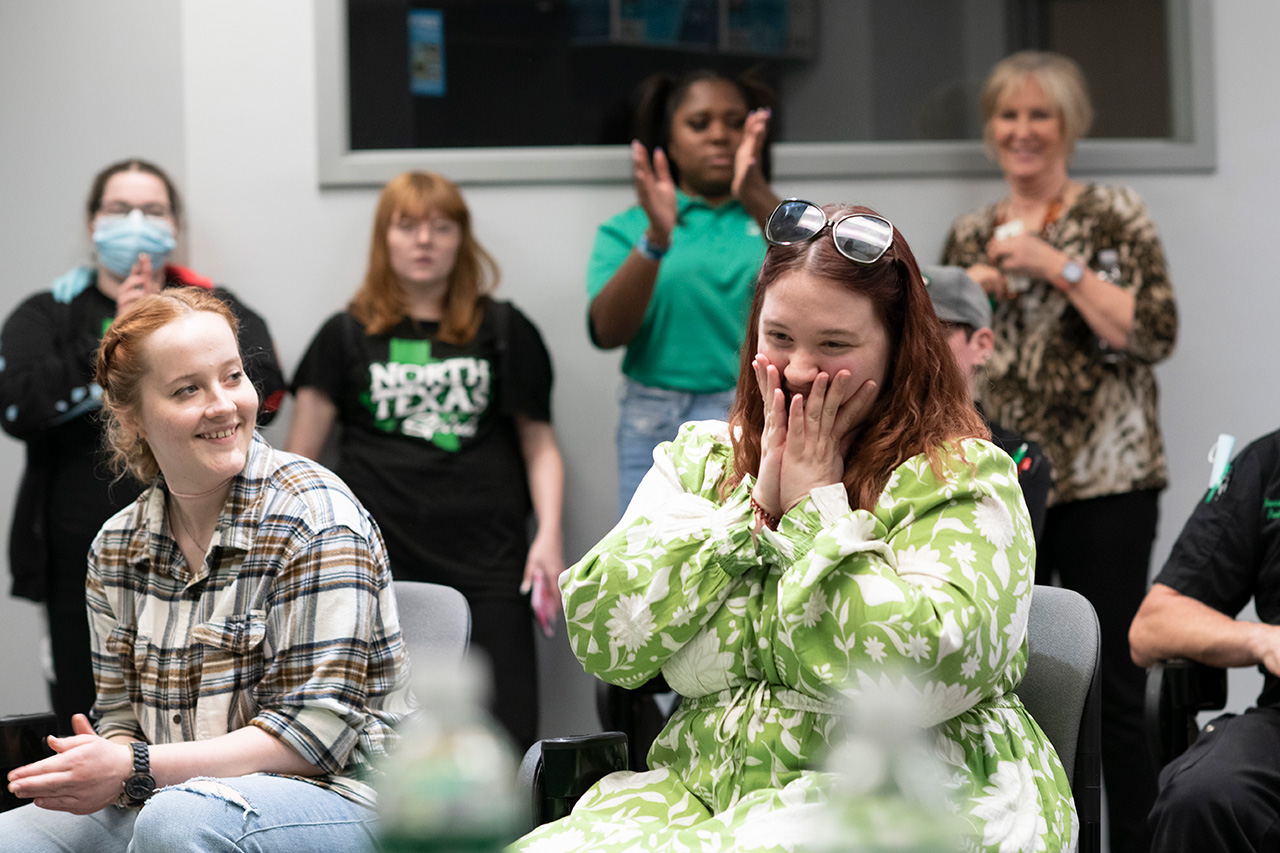
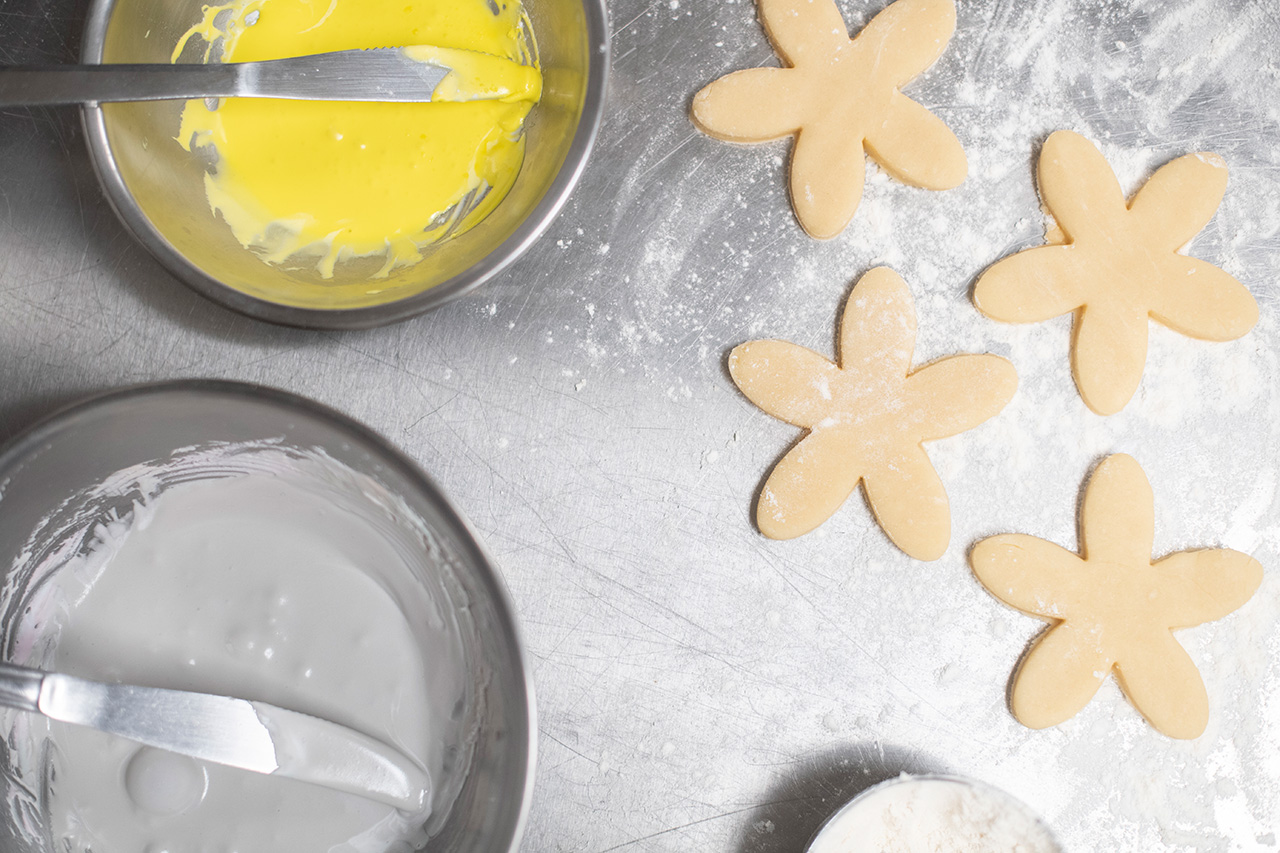
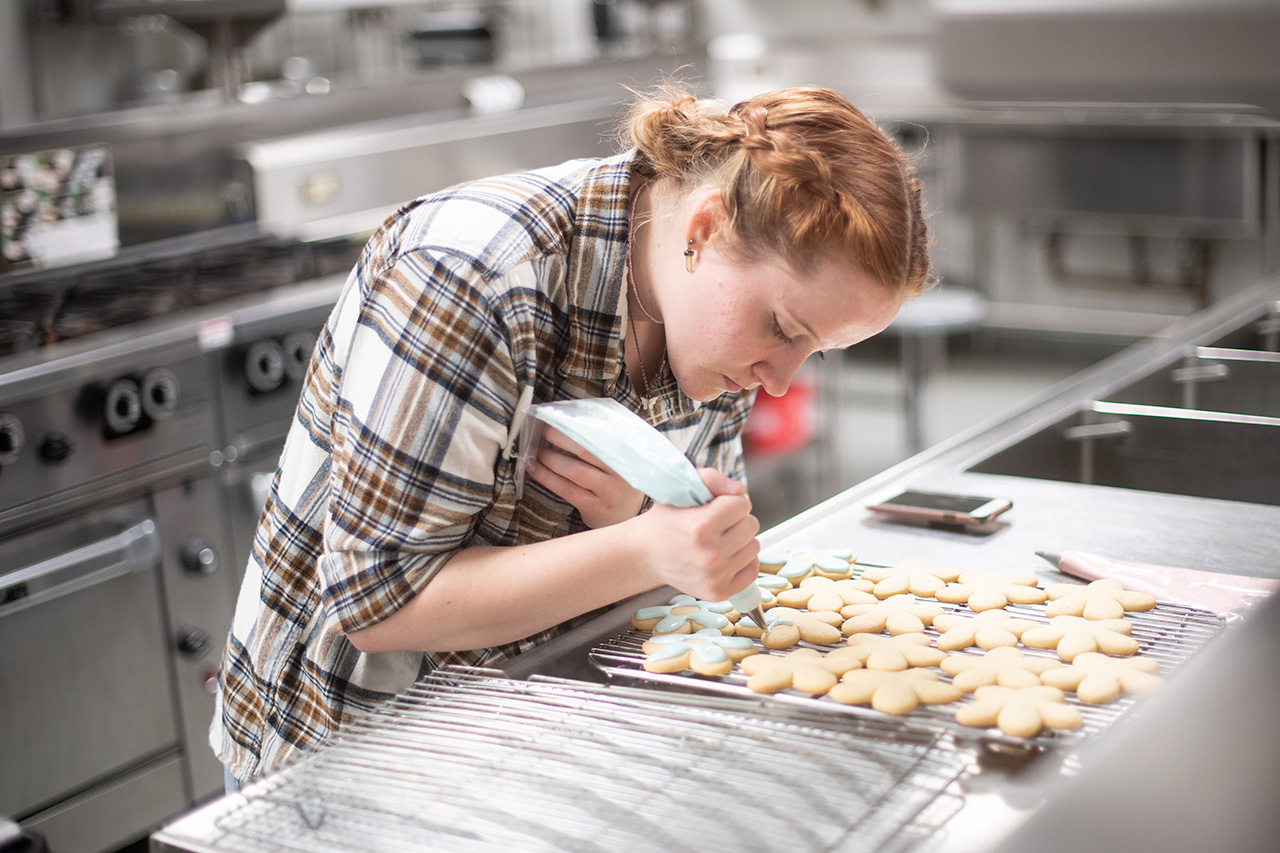
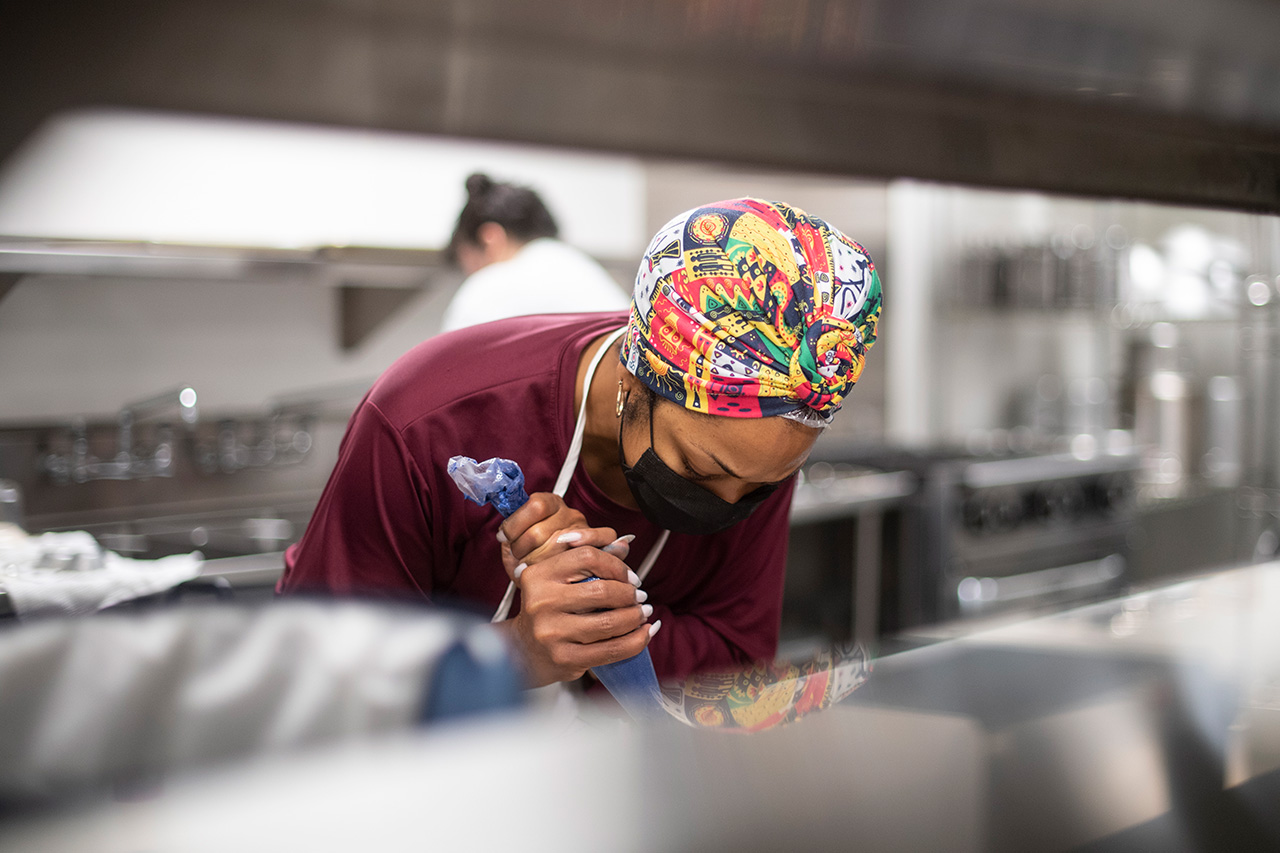
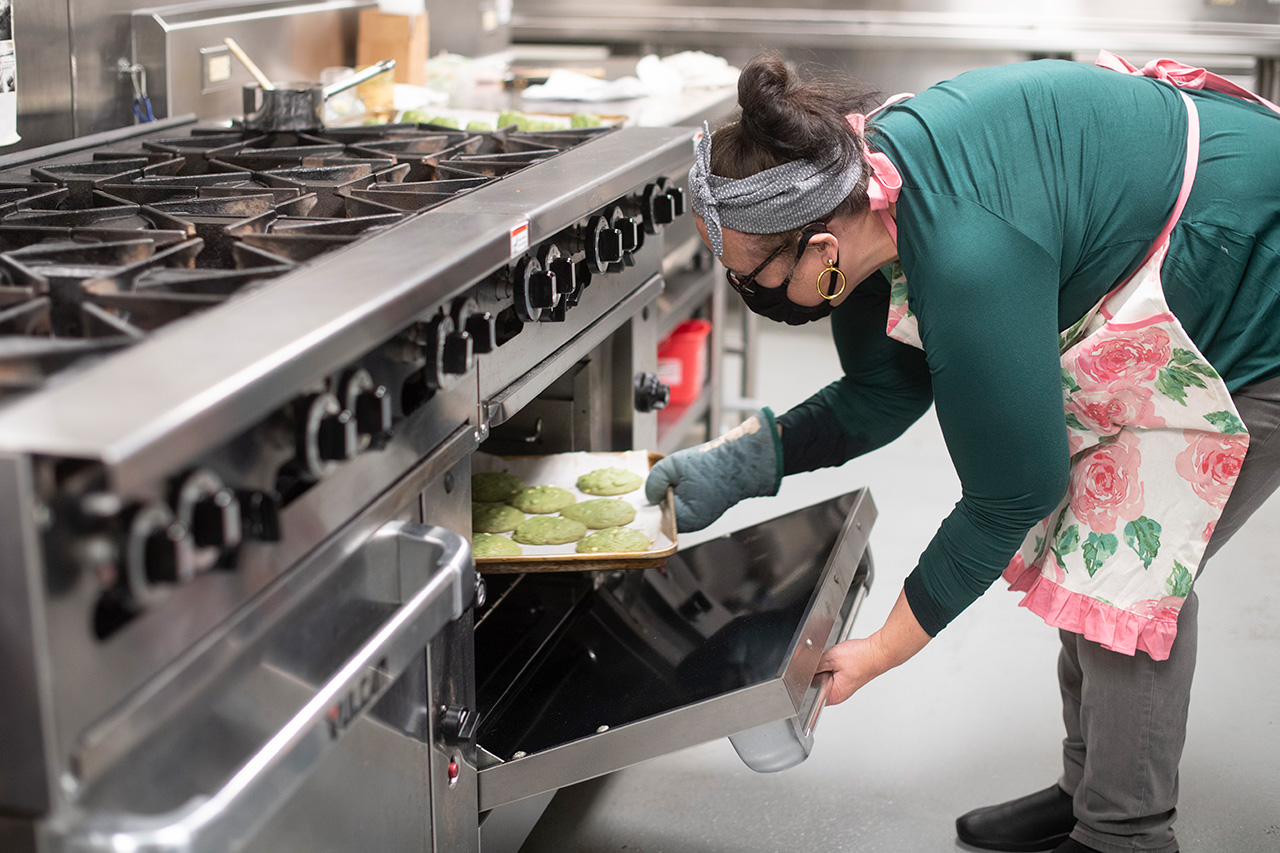
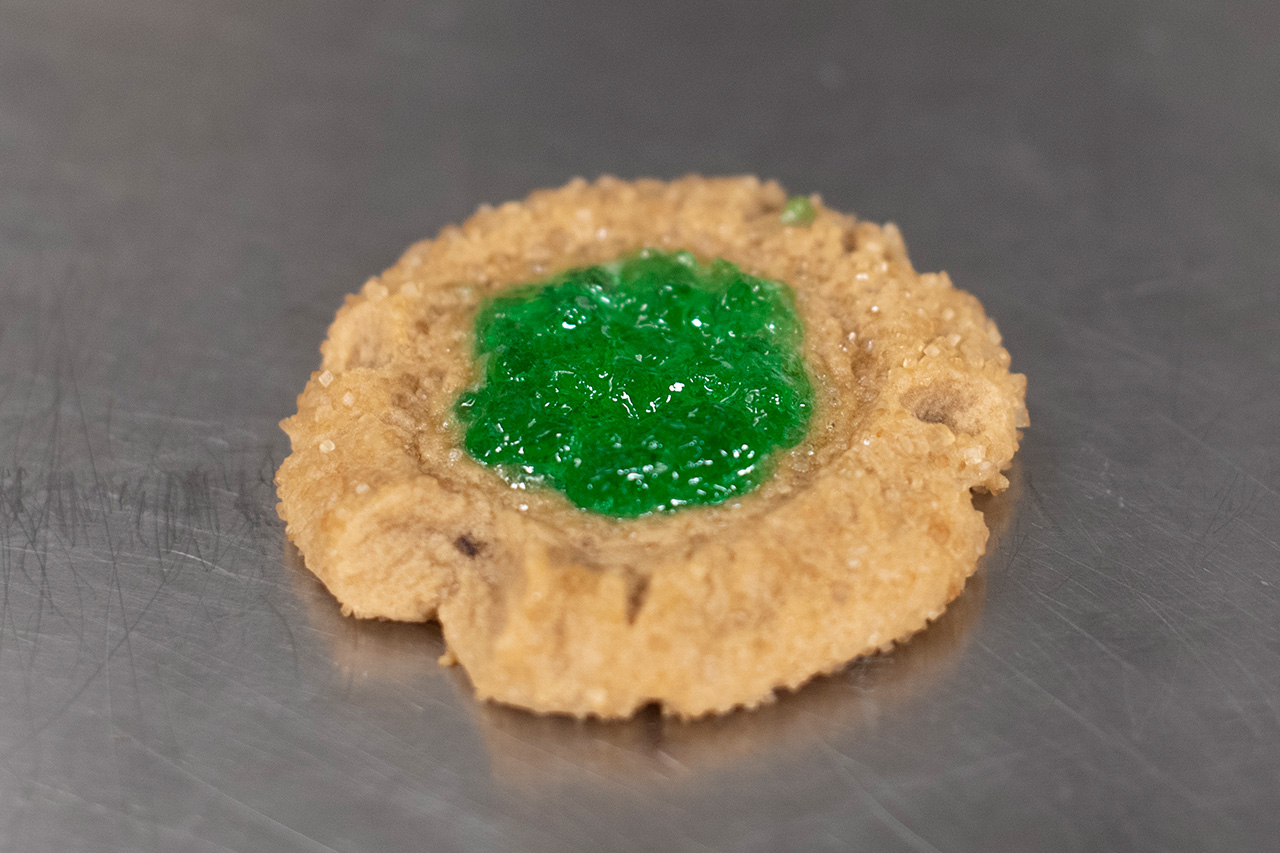
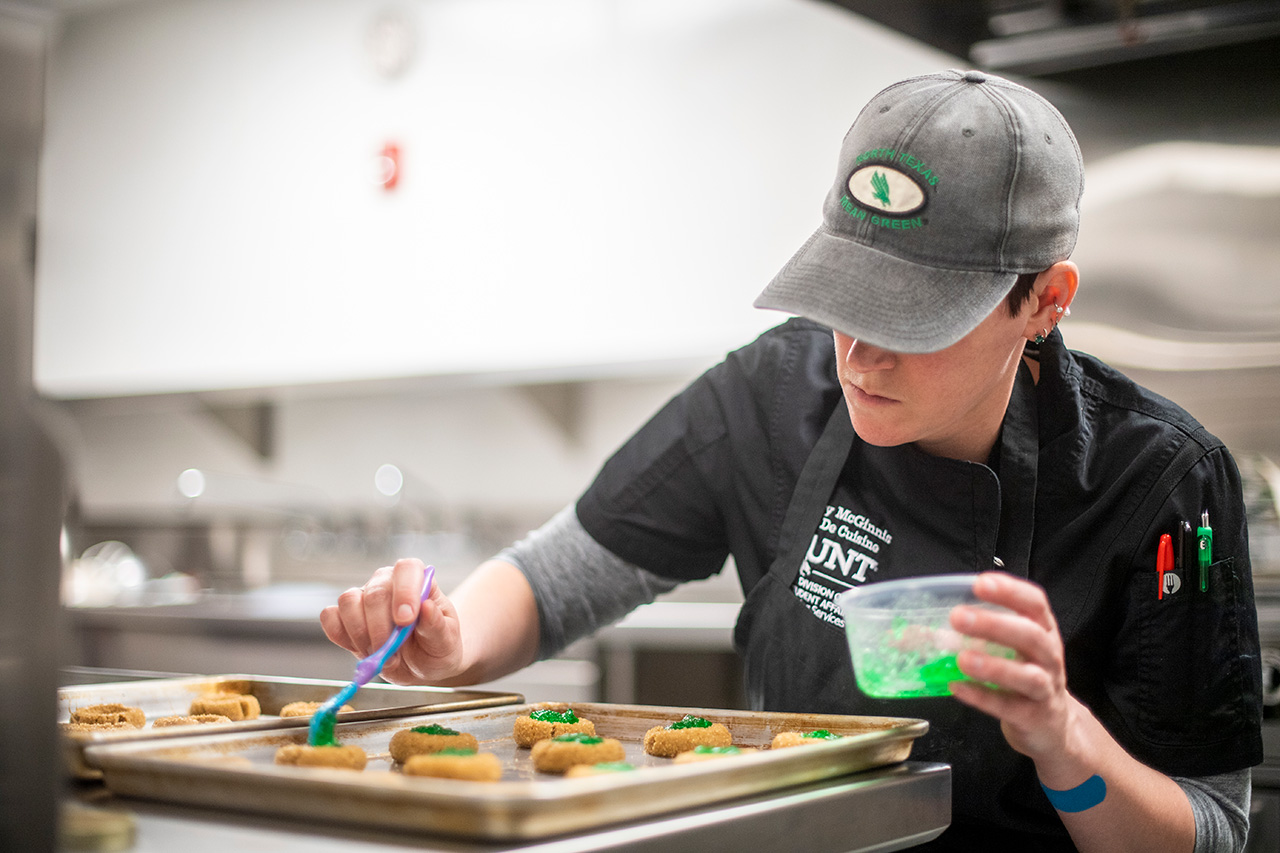
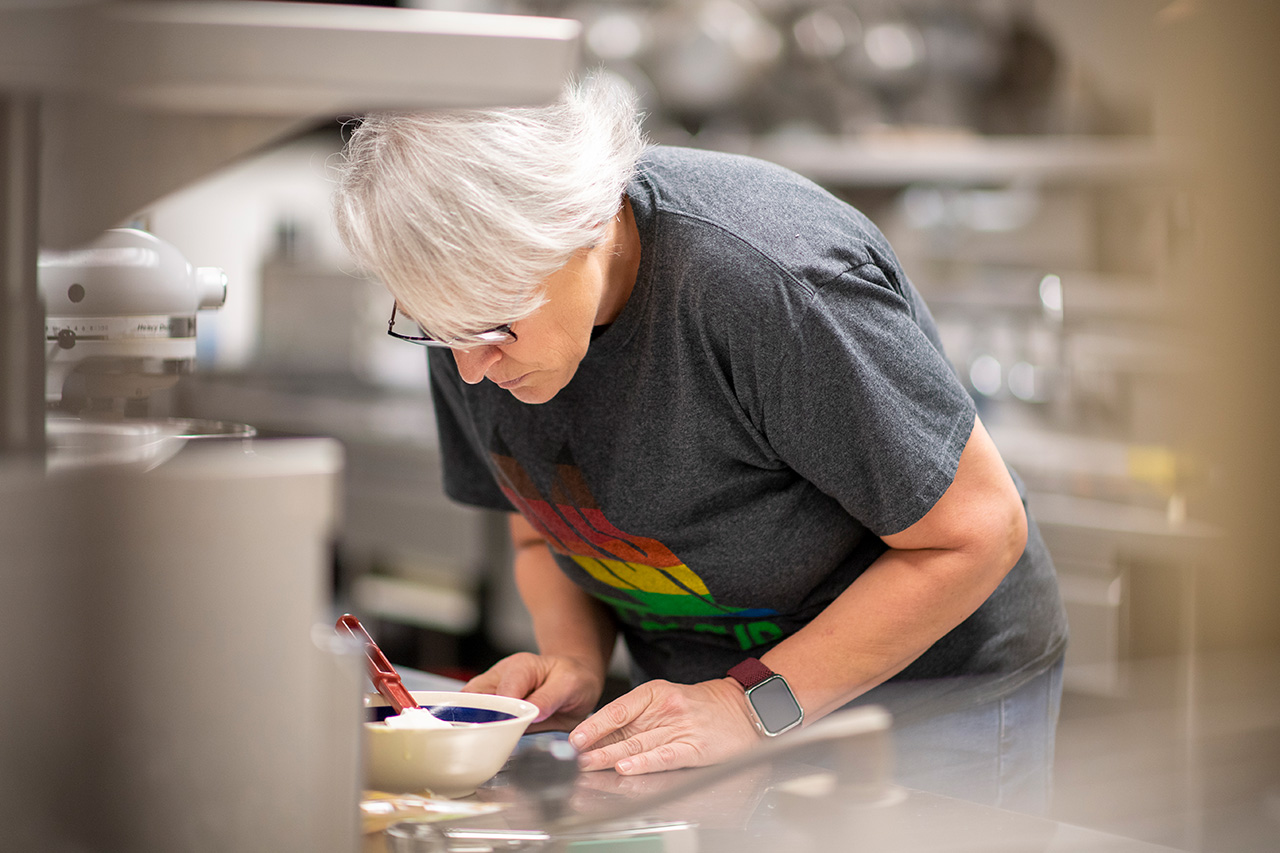
Eight members of the UNT Family competed in the final round of the contest April 19. The finalists were tasked with baking a dozen of their signature cookies. After hours of baking and carefully crafting their creations, they presented their cookies to judges in the Media Library at Chilton Hall.

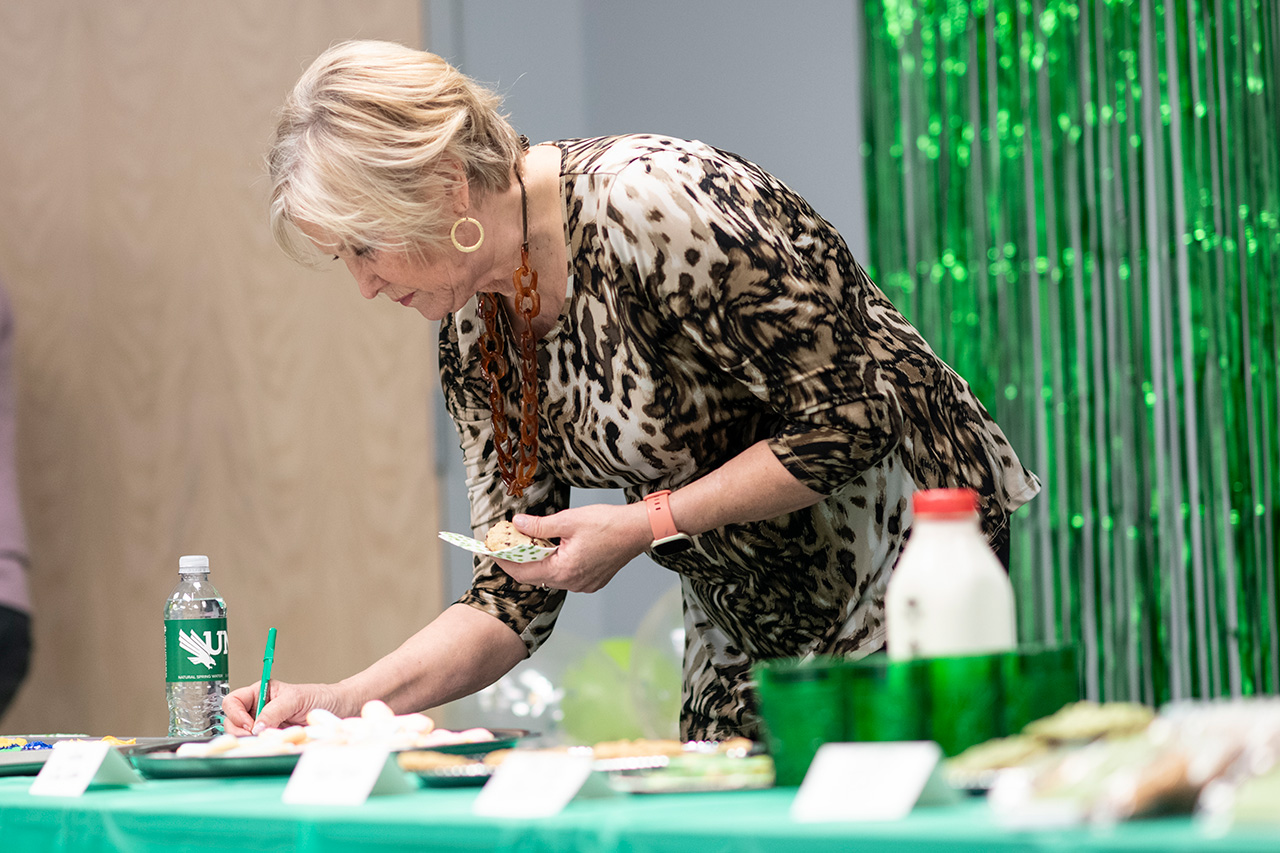
The judging panel included College of Merchandising, Hospitality and Tourism Dean Jana Hawley; UNT Dining Services Chef Pierre Thilliez; and Joshua Lopez, a Ph.D. student in the Department of History and the first recipient of the Julia Child Foundation for Gastronomy and Culinary Arts Fellowship in Food History.

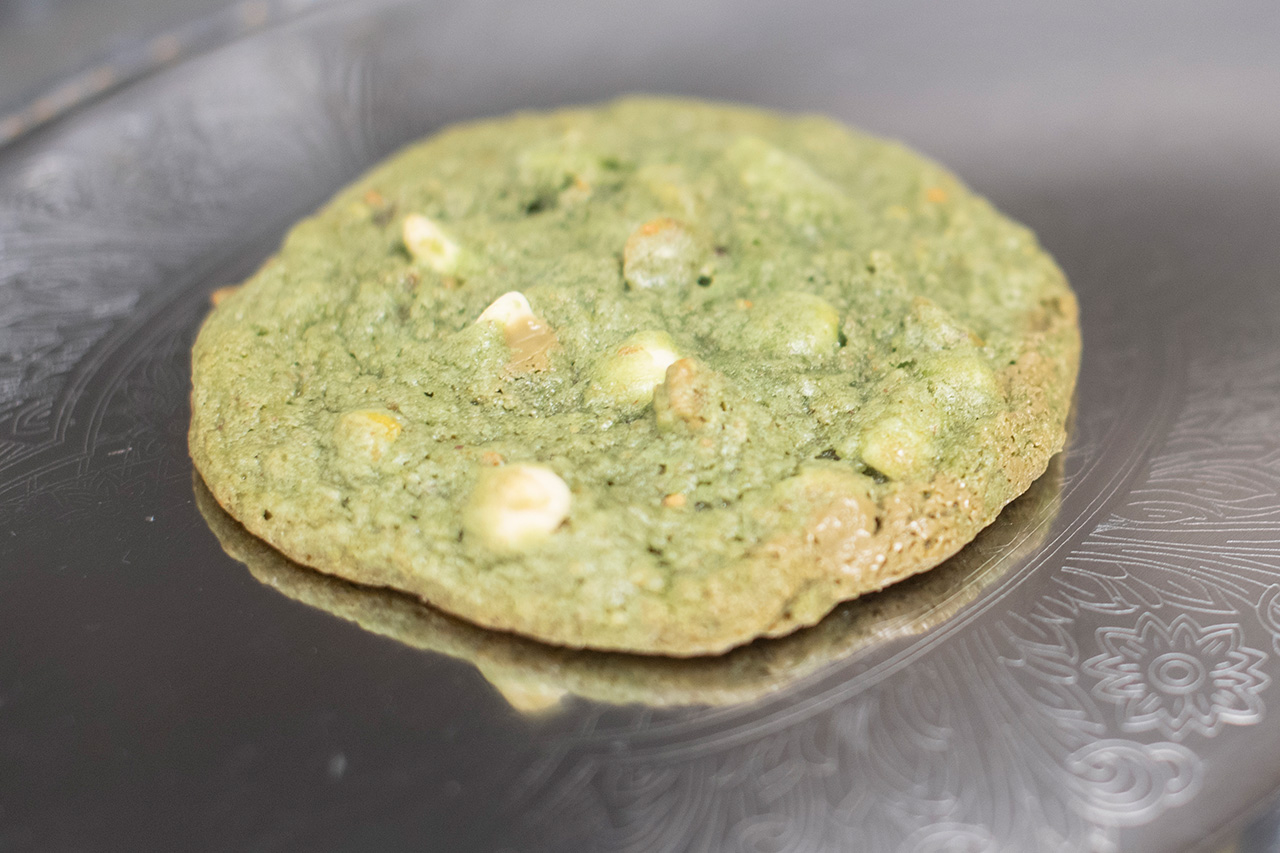
Contest finalists were Jennifer Boyd, Clarissa Galindo, Shelley McGinnis, Kenda Morrison and Abigail Burt. Learn more about the finalists and their cookie recipes.

See the winners in each category below.

Simply Delectable
Chewy White Chocolate Chip Gingerbread Cookies

Frances Perkins, principal lecturer in the Department of Media Arts

Chewy White Chocolate Chip Gingerbread Cookies

Ingredients

  • 3/4 cup butter
  • 1 cup white sugar
  • 1 beaten egg
  • 1/4 cup molasses
  • 2 cups all-purpose flour
  • 2 teaspoons baking soda
  • 1 teaspoon ground ginger
  • 1 teaspoon ground cinnamon
  • 1/2 teaspoon ground cloves
  • 1/2 teaspoon nutmeg
  • (or 1 tablespoon pumpkin pie spice instead of the four spices listed above)
  • 1/2 teaspoon salt
  • 1 (12 ounce) package white chocolate chips

Other options for additional ingredients: dark chocolate chips or chopped crystalized ginger (these can be added with white chocolate chips or instead of, but all are delicious).

Directions

  1. Cream together butter and sugar until smooth.
  2. Stir in beaten egg and molasses.
  3. In another bowl, mix together flour, baking soda, spices and salt.
  4. Mix dry ingredients into the wet, one cup at a time.
  5. Stir in white chocolate chips (or other options).
  6. Chill dough for 1 hour.
  7. Preheat oven to 350 degrees.
  8. Scoop up generous spoonfuls of dough and roll into balls.
  9. Place on lightly greased cookie sheet, or cookie sheet with parchment paper.
  10. Bake in preheated oven until lightly browned from 10 to 12 minutes.
  11. Allow to sit on cookie sheet for a few minutes before removing to wire cooling racks.

Enjoy!

Options for toppings while warm: sprinkle with white sugar, cinnamon sugar or crystalized ginger.

Delicious and Decorative
Vanilla Almond Buttercream Sugar Cookies

Deyonna Davis ('05, '09 M.B.A.), finance and strategic management alumna

Vanilla Almond Buttercream Sugar Cookies

Ingredients

  • 5 cups flour
  • 4 large eggs
  • 1 1/2 cups butter
  • 2 cups sugar
  • 2 teaspoons baking powder
  • 1 teaspoon salt
  • 1 teaspoon vanilla extract
  • 1/2 teaspoon almond extract

Directions

  1. Bake at 375 degrees from seven to nine minutes, depending on oven and cookie size/shape.
  2. Remove from oven when they begin to caramelize. Best when baked from frozen.
UNTraditional
Mean Green Stained Glass Shortbread Cookies

Alexandria Abbrat, master's student in higher education and staff member in the UNT TRIO program

Mean Green Stained Glass Shortbread Cookies

Ingredients

  • 20 tablespoons (2 1/2 sticks/287 grams) unsalted butter, softened
  • 3/4 cup plus 1 tablespoon (100 grams) confectioners' sugar
  • 1/2 teaspoon fine sea or table salt
  • 1 tablespoon plus 1 teaspoon lukewarm water (may replace a portion of the water with your choice of extract, such as vanilla, almond or lime for some Mean Green flair!)
  • 2 3/4 cups (340 grams) all-purpose flour
  • Gel or liquid food coloring, as needed
  • Natural colored powders such as turmeric, beet powder, matcha, cocoa powder or ground freeze-dried fruit, as needed
  • Sprinkles, turbinado sugar, sesame seeds, nonpareils or other small decorations, for rolling

Directions

  1. In the bowl or a stand mixer fitted with the paddle attachment, combine the butter, powdered sugar and salt. Mix on medium speed until everything is well-combined and creamy but not aerated, from one to two minutes. Add the water and/or extracts and continue mixing on medium until thoroughly combined, from three to four minutes. It will look like the liquid won't blend in, but have faith and keep mixing!
  2. Add the flour to the butter mixture and mix on low, scraping down the sides and bottom of the bowl occasionally. Mix until no dry pockets remain, two to three minutes. As you mix, make sure you don't see any areas of unincorporated butter, as these can turn into greasy spots in your cookies. The dough will be soft and slightly sticky.
  3. Lay a 13-by-18-inch (33-by-45-centimeter) piece of parchment paper on your countertop, with one of the long sides facing you. If you use precut parchment, this will be a half-sheet size.
  4. Remove about 1 1/3 cups (300 grams, or a little less than half) of the dough from the bowl and place it on one side (left or right) of the parchment paper. Fold the parchment paper in half like a book, covering the dough. Press the dough down gently to flatten it a little. Using a rolling pin, roll the dough out between the two halves of the parchment sheet until it is spread edge-to-edge within the parchment paper. If any dough squishes out of the sides, just scoop it up, peel the parchment paper up a little bit and stick the dough back in. Set the dough within the parchment paper aside, leaving it at room temperature.
  5. It's time to color your dough. You'll need four colors, and you have options: gel food coloring, liquid food coloring and natural-colored powders (like turmeric, beet powder, ground freeze-dried fruit, cocoa powder or matcha).
  6. Divide the remaining dough into four portions. If you'd like to measure to get them absolutely even, each portion will be about 1/2 cup (110 grams). Color each portion individually with the instructions below. You can mix and match options or do all of the same (i.e. all gel food coloring, or some dough with gel food coloring and others with colored powders).
    1. If using gel color, place one dough portion in a small bowl. Add a drop of gel food coloring and stir well to blend the color into the dough. Keep adding color until you're satisfied.
    2. If using liquid color, place one dough portion in a small bowl. Add a drop of liquid food coloring and stir well to blend the color into the dough. Add one to two more drops of color as needed, but don't exceed three total drops or the dough will become too wet.
    3. If using colored powders, place one dough portion in a small bowl. Add a small amount of your colored powder to start with -- 1/2 teaspoon at a time is recommended. Work the powder into the dough until it's completely combined. Add more powder as needed, but do not exceed 1 1/2 teaspoons per dough portion or the dough will become too dry.
  7. Peel the parchment paper off the top of the uncolored dough sheet but leave the dough on the bottom parchment.
  8. Take one color of dough and shape it into a tube 9 inches (23 centimeters) long. This is the length of the short edge of the plain dough sheet. Place the dough onto the bottom edge of the plain dough sheet. There are two ways to do this. You can gently roll the dough into a long log and place it on the dough sheet, or place the dough in a piping bag. Snip a corner off the piping bag, creating a hole about 1/2 inch (1 1/4 centimeters) in diameter. Pipe the dough in a thick stripe along the bottom edge of the plain dough sheet. If you still have dough left in the bag after you pipe the whole strip, go back over and pipe on top of the initial stripe until all the dough is used up.
  9. Lifting up the bottom edge of the parchment sheet, begin rolling the plain dough sheet around the colored dough log. Keep rolling until the colored log is just barely encased by plain dough, with none of the plain dough overlapping itself. Use a knife to cut away the cylinder of colored dough wrapped in plain dough from the plain dough sheet. Pinch the seam of the plain dough together to seal it. Set the covered dough log onto a new piece of parchment paper.
  10. Repeat the coloring, rolling and cutting steps with the remaining dough colors. You will probably run out of plain dough after the third dough color – that's OK. Just make a log of the fourth dough color without wrapping it in plain dough.
  11. Place two of the dough logs next to each other and place the other two on top of them, so you have a two-by-two formation. Squeeze the logs together gently to seal the dough logs together. Working on a clean sheet of parchment, if desired, roll the dough log back and forth to make it longer and thinner. Keep rolling until the log is approximately 14 inches (36 centimeters) long.
  12. Using a sharp knife, cut the dough log in half. Take the two halves and stack them on top of each other. Squeeze them together gently.
  13. Repeat the rolling, cutting and stacking steps two to three more times. A total of three rolls will give you larger splotches of color, like stained glass. A total of four rolls will give you smaller splotches of color, like a kaleidoscope.
  14. Roll the final log out to a length of approximately 14 inches. Wrap the dough log in parchment paper. If the dough is too soft to hold the shape you want, chill it from 15 to 20 minutes until it's firmer but still malleable before proceeding with shaping. Refrigerate the shaped log for at least four hours and up to 24 hours.
  15. Position racks in the upper and lower thirds of the oven and preheat to 350 degrees. Line two large, rimmed baking sheets with parchment paper.
    1. To make shortbread slice-and-bakes (rounds, squares, etc.), remove the chilled dough from the refrigerator. Place your exterior decoration (sprinkles, turbinado sugar, sesame seeds or any other small particulate) in a separate rimmed baking sheet or baking dish that will accommodate it. Lightly brush the exterior of the dough log with water. Roll the dough around in your decoration, pressing gently to adhere.
      • Cut the log into approximately 1/4-inch (2/3-centimeter) thick slices. Place the cookies on the lined baking sheets, leaving at least 1/2 inch of space between the cookies. They will spread a little but not much.
    2. To make shortbread cutouts, lay a piece of parchment paper out on your counter. Cut the dough log into approximately 1/4-inch (2/3-centimeter) thick slices. Lay all the slices on the parchment paper sheet so that their edges are touching.
      • Place another sheet of parchment paper on top of the shortbread rounds. Using a rolling pin, gently press down on the dough rounds to push the edges into each other. Keep rolling until a smooth sheet of marbled cookie dough has formed. Keeping the dough sheet between the two sheets of parchment paper, return the dough to the refrigerator and chill from one to two hours.
      • Remove the dough from the refrigerator and peel off the top layer of parchment paper. Use a cookie cutter or a sharp knife to cut shapes out of the dough sheet. Press any cookie dough scraps together to cut out as needed. (The cookies will puff up and spread a little bit during baking, so you won't get sharp-edged shapes from your cookie cutters.)
  16. To bake the slices or cutouts: Bake the cookies for 15 minutes, or until the tops are matte and pale but the cookies have not yet started to brown, rotating the sheets from top to bottom and front to back halfway through. They will still seem soft if you poke them, but they'll firm up as they cool. Let cool completely on the baking sheets before serving or storing, though they can be gently moved to a wire rack after about 10 minutes to finish cooling, if desired.